
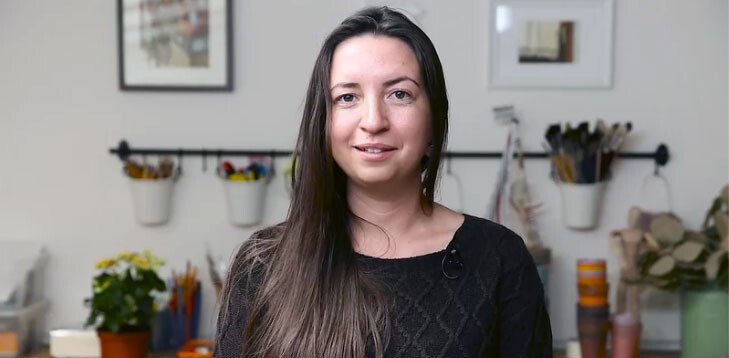
Hello,
My name is Anna Egida and I’m known for my city sketches. Many years ago, when I was about to graduate from the the Arts College, I thought that every artist should have their own theme. So I decided that mine would be the city.
Drawing the city
Drawing the city should start with something clear and familiar. We are all city dwellers, with our favourite places and corners we would like to capture.
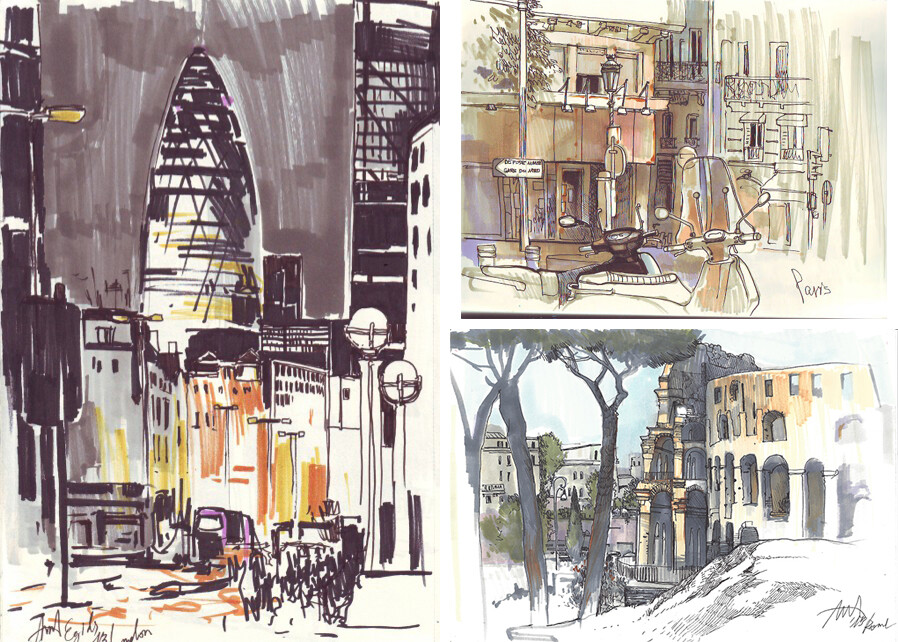
It’s been 11 years since I started studying the city space. I have visited many European cities. I’ll teach you how to show the city’s personality, its atmosphere, through details, composition and colors. City sketching is not about the accurate perspective and straight lines. We’ll learn how to draw fast and expressively. We will get to know some basic expressive methods which would help us show the spirit of the city.
We’ll start our online course with unshaded drawing, and we’ll learn to see and portray some important details of the city space. Then we’ll start working in strokes and color, eventually going to big city compositions and people.
My Works


Who are my students
If you have been dreaming of drawing, but kept putting it off for some reason, this course is for you. Sketching is an easy way to enter the world of art.
The online course would also be interesting for those who already know the principles of unshaded drawing. I’ll show you how to make the
line more vivid, dynamic and expressive. I will teach you how to make the picture lighter, more impression-like. I look forward to seeing those who would like to learn how to draw the city space, to capture the imperceptible magic which lives within every city with the help of a sketch.

How we will study
This is a distance learning course. The lessons are available at any time.
You will get the access to the first lessons and will be able to watch them as many times as you want and at any time.
The lessons contain some practical tasks. The following lessons will open after you complete the previous practical tasks.
I will be available for personal consultations for each lesson via comments. The tasks can be done at any time convenient for you.
You just take photos of your works on the tasks and post them to the class’ page.
I will comment on the task completed, point out the mistakes, give you a credit or ask you resubmit the task. Until the work is accepted, you will not be able to proceed with the lessons.
You can always contact me. I will be always there to answer all the questions you have.
Complete the tasks at your own pace, no hurry. Take as much time for every task, as you need. However, keep in mind that the course has the end date. In any case, the course can be prolonged with some extra payment.
In the end of the course, once all the tasks completed, you’ll open the test lesson, which is the final check of the skills acquired. After your final work has been accepted, you’ll get your course certificate by e-mail. You can print out and put in a frame if you like.
During the course, all works will be visible to other students.
You will see all the mistakes and their corrections . This will help you avoid your own mistakes, giving you a great chance to improve your own works.
You can make as many corrections as you wish.
During live courses, once you haven’t managed to complete the task on time or failed it, you nevertheless won’t have time for corrections, since the group cannot wait for one. While, doing an online course, you can make several versions, or improve the work as many times as needed, until the teacher considers the task fulfilled.
The online-course lasts for a month, giving you a lot more practice, feedback and time. You can do it at any convenient time during the month.
Drawing Media
All the classes of the online course require using of markers. The list of recommended sets is to follow. You can either take my recommendations or work with pencil, brush and colors. The round synthetic brush size 3 and 4 will work well. However, I must warn you, working with the brush will be a lot more difficult. Using a marker, one does not need to watch the amount of color on the tip. A marker also feels more flexible, which is nicer for work.
Black color and sets of gray
Black marker is obligatory. I recommend Faber Castell.
The set of three gray markers: light, medium and dark.
The shades of gray have to be of the same tone – either “warm” or “cold”. Let’s say, the markers are marked with letters N or C, this means that all three need to be of the same one.
You can buy the sets of both warm and cold tones. I recommend Faber-Castell PITT Artist Pen — Brushes.
Color sets
Beige markers. Three shades: light, medium and dark.
- Blue markers. Three shades: light, medium and dark.
Greenish-hazel color markers. Three shades: light, medium and dark.
I recommend the Promarker sets as color markers, they offer all harmonious shades already put together.
Choosing a Manufacturer
Markers have three types of tip: a slim tip, a thick one and a brush. Different brands combine the tips in their sets in different ways. To my mind, the best one to start with is Faber Castell, the tip of which seems to be the best option. Tria has quite a stiff one, Copic is too flexible, while Touché gets shredded easily.
авторизуйтесь